Vulnerability Assessment with Nessus
Exploring Nessus for efficient vulnerability assessments, learn how to set up scans, interpret findings, and prioritize security fixes.

Nessus Setup
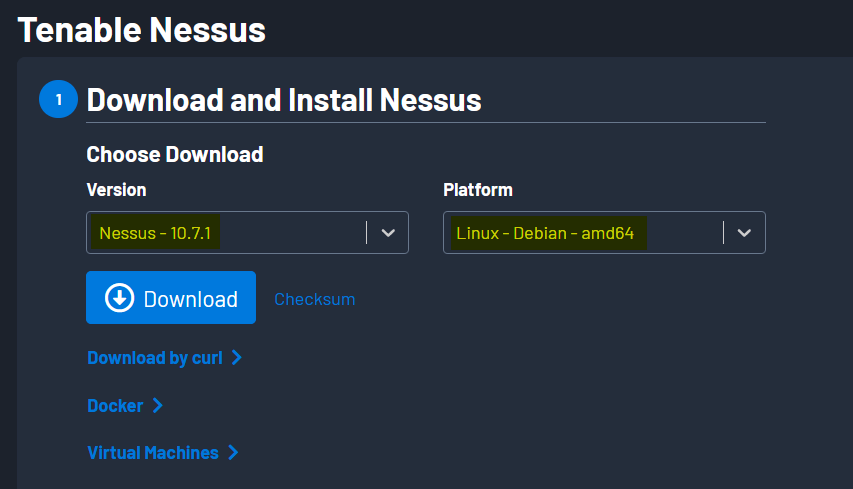
I’ll be using Kali Linux for this walkthrough. You can download the Nessus from here. Kali Linux is Debian base so I’ll go with Linux Debian:
 Nessus Setup
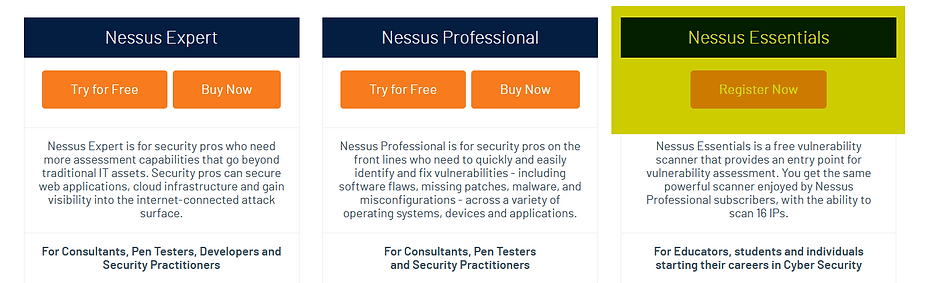
We’ll also need a Free License to use the free version of Nessus. Let’s start by requesting the Activation Code, which is necessary to get the free version of Nessus:
 Nessus Essecntials
 Activation Code
Installing Package
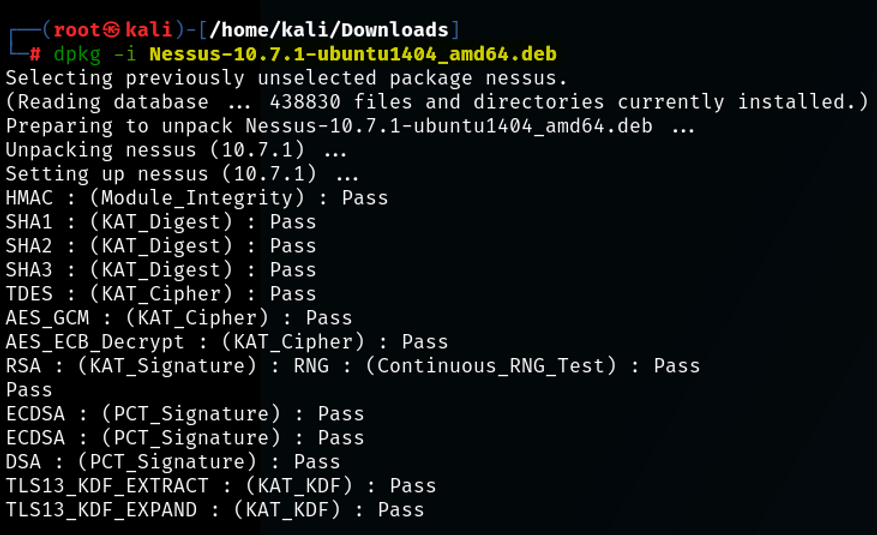
With both the binary and activation code in hand, we can now install the Nessus package:
 Installing Package
Starting Nessus
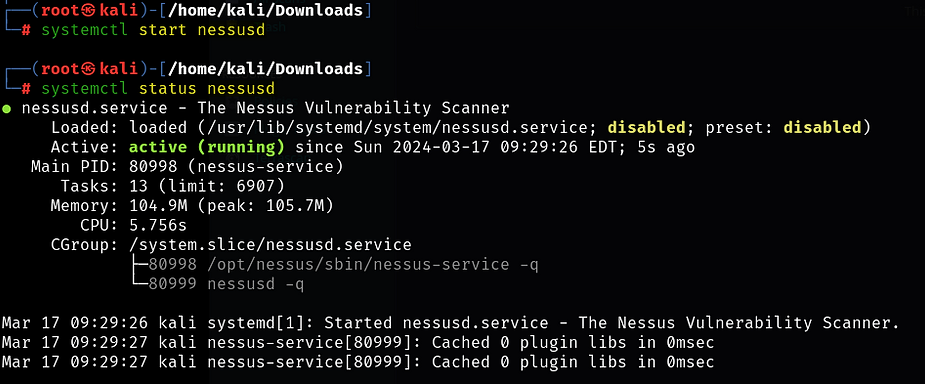
Once we have Nessus installed, we can start the Nessus Service:
 Starting Nessus
To access Nessus navigate to https://localhost:8834. Once we arrive at the setup page, we should select Nessus Essentials for the free version, and then we can enter our activation code. Then set up a username and password.
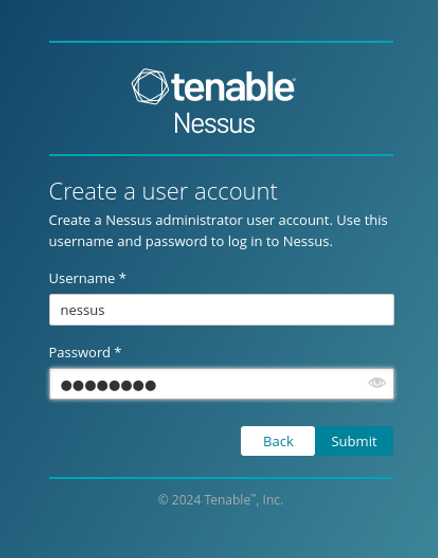 Nessus Account Setup
Once everything is done Nessus will install the necessary plugins. After installing Nessus, it will take some time to compile all the installed plugins.
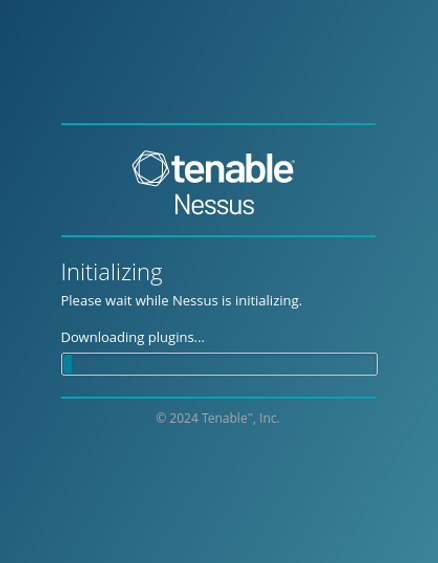 Nessus Initializing
Nessus Scan
To set up a new Nessus scan, click “New Scan” and choose your desired scan type. Scan templates are categorized into three main groups: Discovery, Vulnerabilities, and Compliance. Within these categories, you’ll find options like a basic Host Discovery scan for spotting live hosts and open ports, or more specialized scans such as Basic Network Scan, Advanced Scan, Malware Scan, and Web Application Tests. Additionally, there are scans tailored to specific CVEs (Common Vulnerabilities and Exposures) and audit & compliance standards. For detailed descriptions of each scan type, refer to the provided documentation.
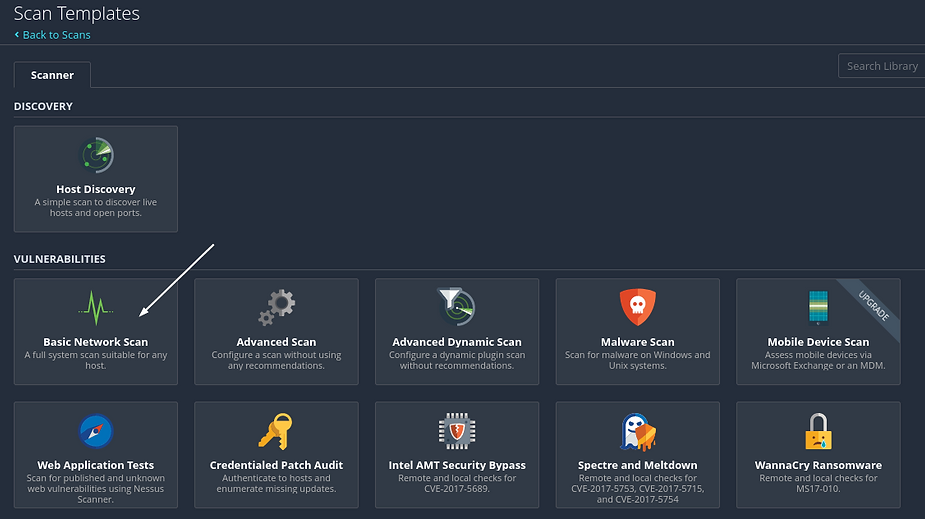 Nessus Scans
Let’s do a “Basic Network Scan”. Enter your target IP and other details.
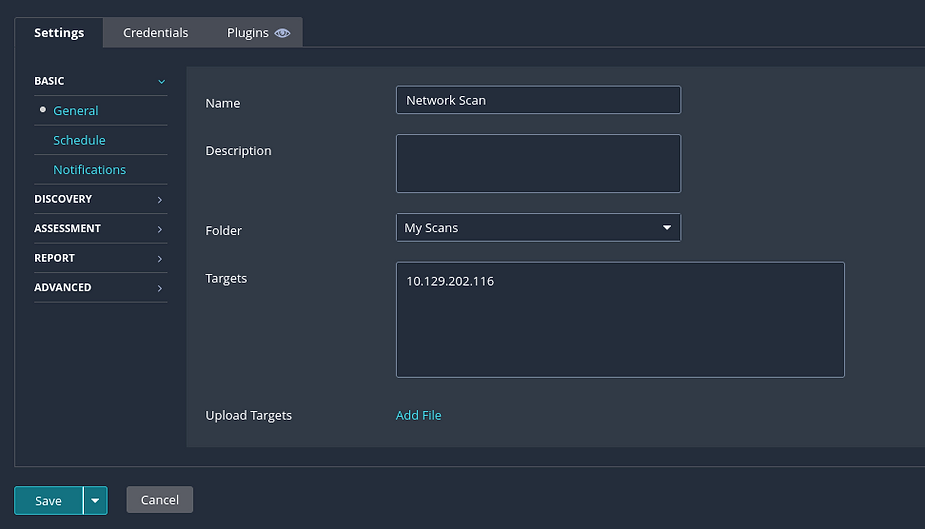 Network Scan
In Port Scanning, we can choose whether to scan common ports, all ports, or a self-defined range, depending on our requirements:
 Scan Type
In the Service Discovery section, the option to Probe all ports to find services is typically selected by default. While some poorly designed applications or services may crash due to this probing, most should be robust enough to handle it without issues. Additionally, searching for SSL/TLS services is enabled by default on custom scans. Moreover, Nessus can be configured to identify expiring and revoked certificates for enhanced security measures.
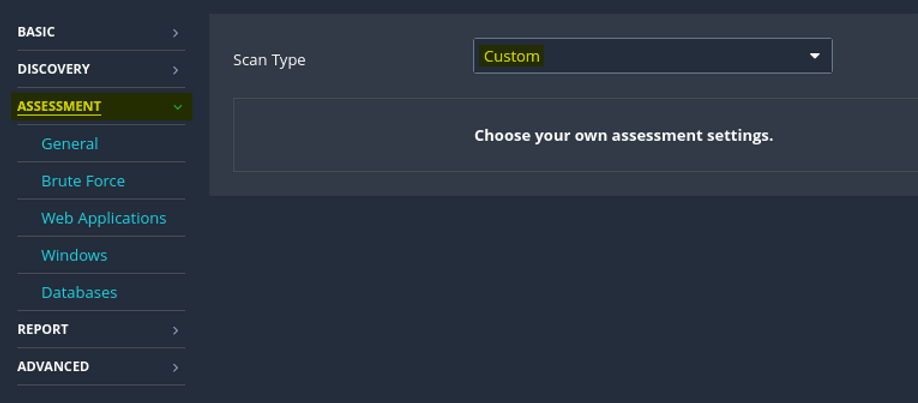
Assessment
Under the Assessment category, users can opt to enable web application scanning as needed. This feature allows for the customization of a user agent and various other web application scanning options. For instance, users can specify a URL for Remote File Inclusion (RFI) testing, enhancing the comprehensiveness of the scan and ensuring thorough security assessment of web applications.
 Nessu Assessment
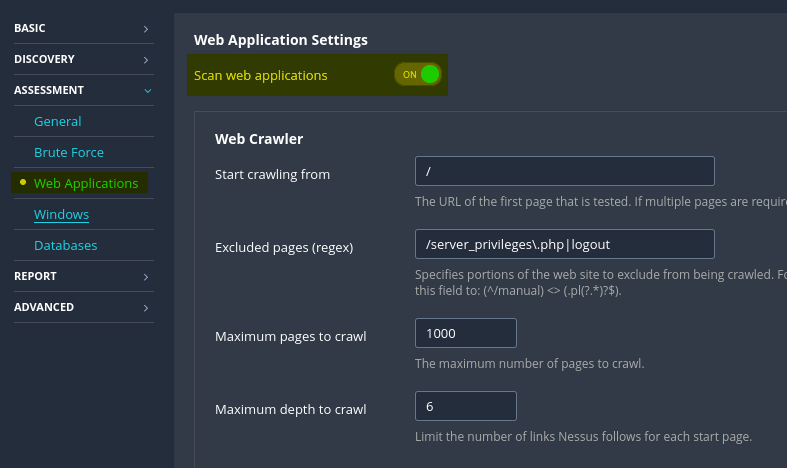 Web Application Settings
If desired, Nessus offers the option to authenticate against discovered applications and services using provided credentials, particularly when running a credentialed scan. Alternatively, if credentials are not available, Nessus can perform a brute-force attack using the provided username and password lists. This approach enhances the depth of the scan by allowing Nessus to access and evaluate additional information within the system, providing a more comprehensive security assessment.
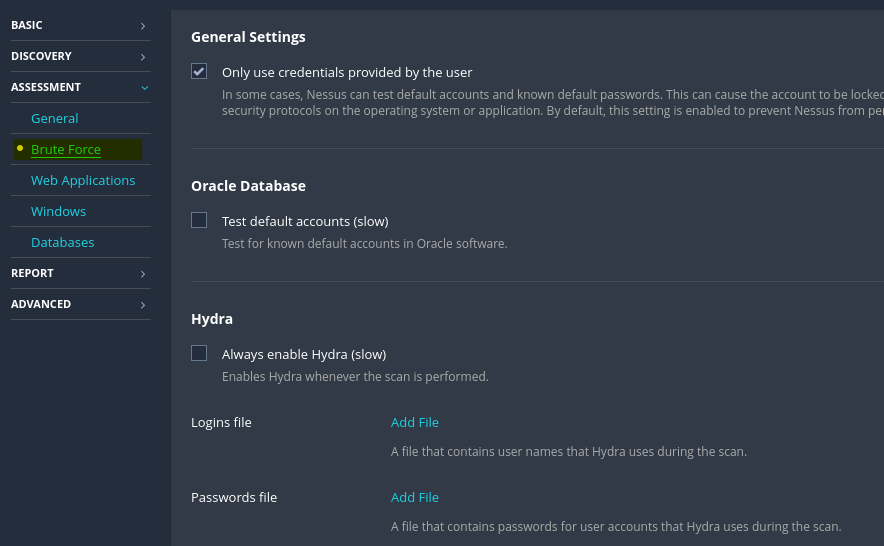 Brute Force
User enumeration can also be performed using various techniques, such as RID Brute Forcing:
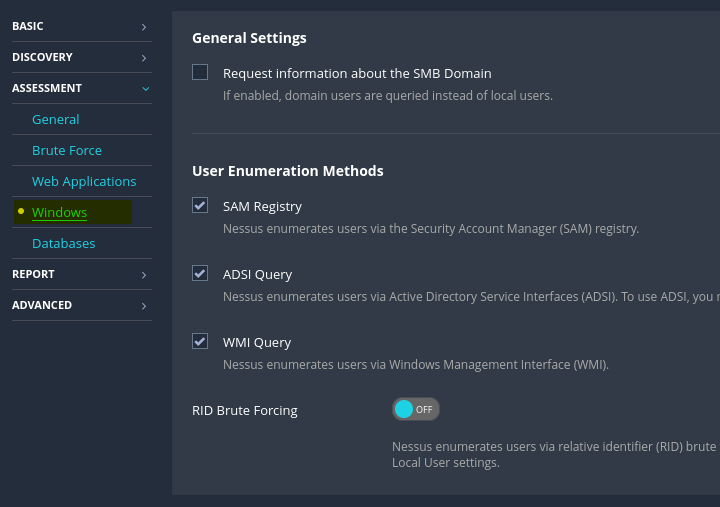 User Enumeration
If we opt to perform RID Brute Forcing, we can set the starting and ending UIDs for both domain and local user accounts:
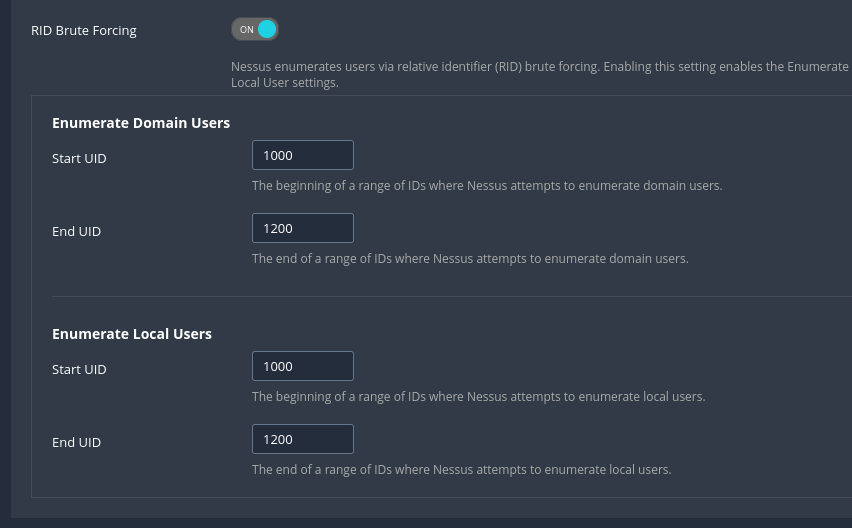 Rid Brute Forcing
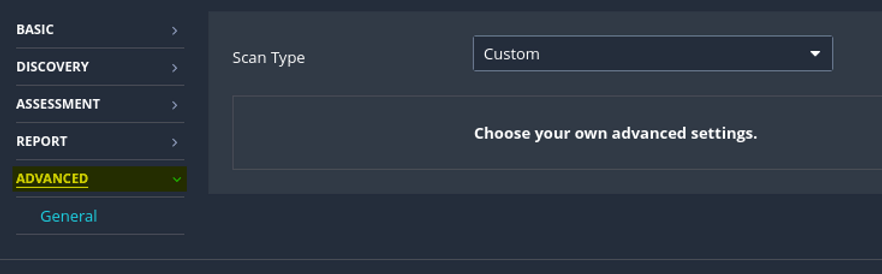
Advanced
On the Advanced tab, safe checks are enabled by default in Nessus. This ensures that checks which may potentially harm the target device or network are avoided. Additionally, users have the option to adjust scan behavior based on network conditions. For instance, Nessus can slow down or throttle the scan if network congestion is detected. Furthermore, users can configure Nessus to cease scanning hosts that become unresponsive. Another option available is to instruct Nessus to scan the target IP list in a random order, enhancing unpredictability and security measures.
 Nessus Advanced
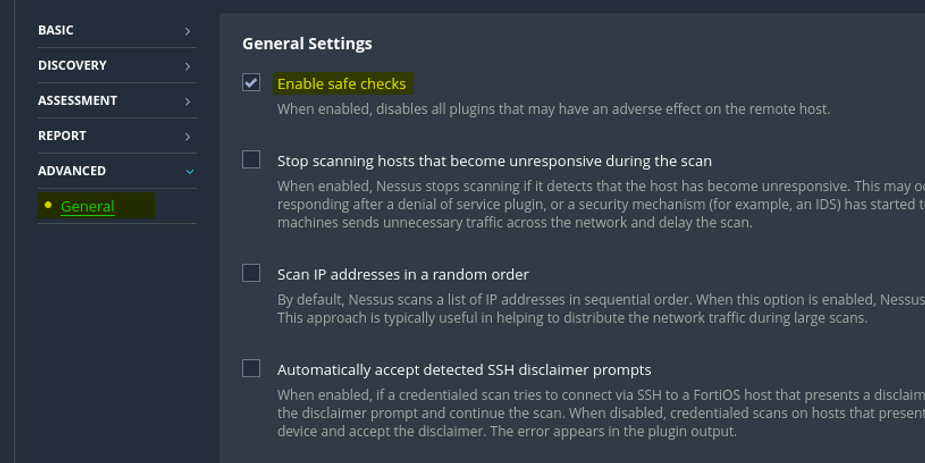 Nessus General
After everything is set we can save the scan and launch the scan.
 My Scans
Nessus Reports
Once a scan is completed, users have the option to export a report in various formats including .pdf, .html, or .csv. In the .pdf and .html reports, users can choose between an Executive Summary or a custom report. The Executive Summary report provides a comprehensive overview, listing hosts along with the total number of vulnerabilities discovered per host. Users can access detailed information such as severity, CVSS score, plugin number, and issue name by clicking on the “Show Details” option. Each discovered issue’s plugin number contains a link to the full plugin writeup from the Tenable plugin database. The PDF format is convenient for sharing scan results.
Alternatively, the CSV report option allows users to customize which columns to export. This flexibility is particularly useful for importing scan results into other tools such as Splunk or for sharing with multiple internal stakeholders responsible for remediation or data analysis.
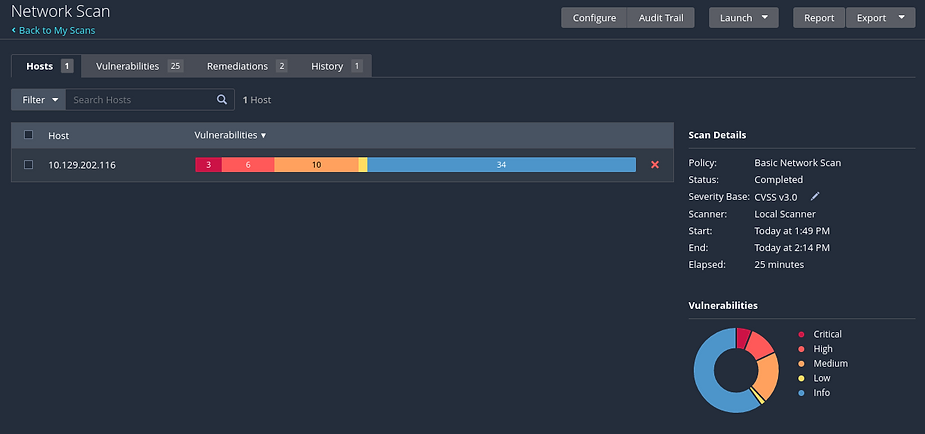 Network Scan Report
Scan reports should only be included as supplementary data or an appendix to a custom penetration test or vulnerability assessment report. They should not be provided as the final deliverable to clients.
Html Report Example.
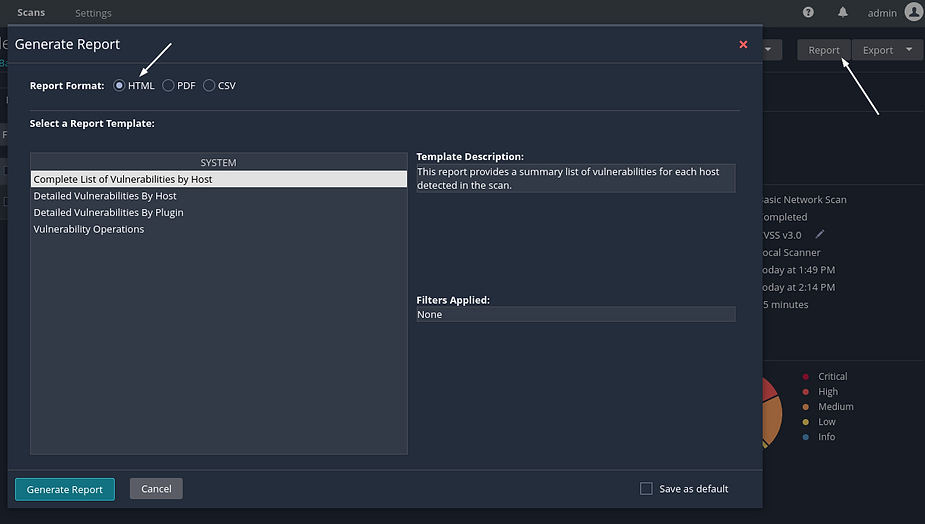 Html Report
Exporting Nessus Scans
Nessus offers the flexibility to export scans in two formats: Nessus (.nessus) and Nessus DB (.db). The .nessus file, an .xml format, encapsulates scan settings and plugin outputs, while the .db file includes the .nessus file alongside the scan’s Knowledge Base (KB), plugin Audit Trail, and any scan attachments.
To streamline the process of downloading scan results in all available formats directly from the Command Line Interface (CLI) using the Nessus REST API, scripts like nessus-report-downloader prove to be invaluable tools.
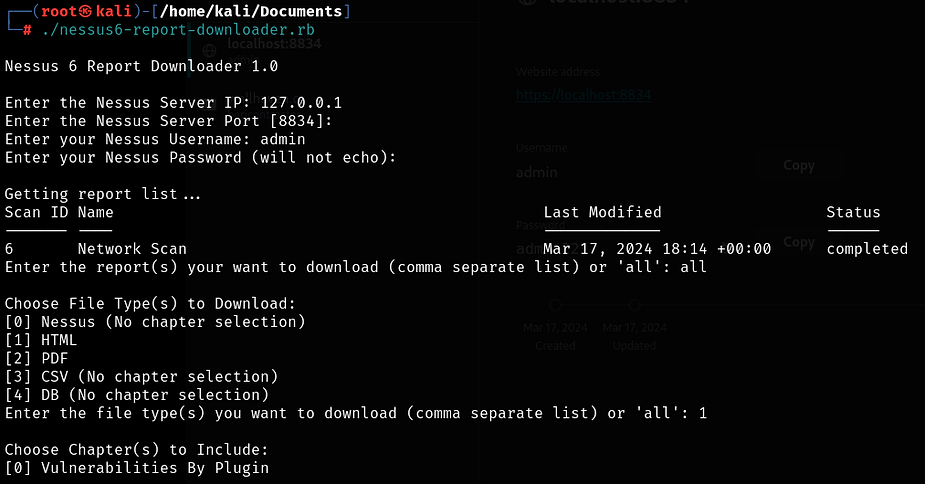 Report Downloader
Thanks for reading. If you have any questions please don’t hesistate to ask.